 If you’ve ever contemplated installing your own radiator, but found yourself overwhelmed by the range of different types, sizes and installation intricacy, then this guide is for you. By offering a straightforward, step-by-step process, we aim to demystify the task and provide you with the confidence to tackle your radiator installation with confidence.
Before You Begin
Before you even pick up your tools, you’ll need to decide where you want your radiator to go. This will often be determined by where your existing pipework is located. Ensure the wall is strong enough to support the weight of a filled radiator. Calculating the BTU (British Thermal Unit) requirement for your room will further guide the size and type of radiator you need.
Tools Needed
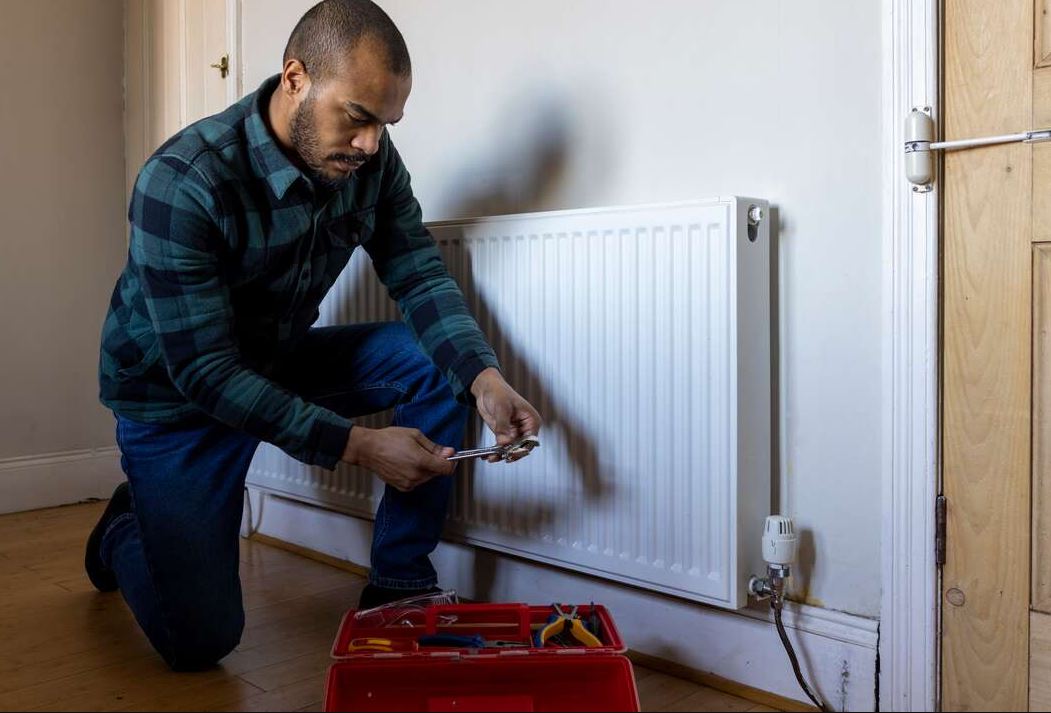
You’ll require a selection of basic tools for this job: a spirit level, drill, adjustable wrench, pipe cutter or hacksaw, and some PTFE tape to ensure water-tight joints. It’s also recommended to have towels or a basin at hand to catch any residual water when disconnecting your old radiator.
Prepare the Area
Before starting with the actual installation, protect your floor and furniture by laying dust sheets or old towels. It might be a good idea to drain your existing radiator, removing any trapped air, and turning off your central heating to prevent accidental leaks.
Installing Your New Radiator
Firstly, attach the brackets securely to your radiator before lifting it to the wall. Use a spirit level to ensure it is straight, mark the drilling holes on the wall, and then put the radiator to one side. Drill your holes, insert the wall plugs, and then hang the radiator back on its brackets.
Next, you’ll need to make the connections to your existing pipework. This can be slightly difficult if the pipes don’t align perfectly with your new radiator. If this is the case, you may need to adjust the pipework or use flexible connectors. Remember to use PTFE tape on the threads to ensure a water-tight seal.
Check for Leaks
Once everything is connected, it’s time to turn the system back on, and carefully check for any leaks. If you find any, turn the system off, drain the radiator and tighten the connections.
A Final Word of Advice
While the process of installing a radiator is straightforward for someone with basic DIY skills, it’s always good to have someone with experience on standby. A small mistake can cause a big problem, so if in doubt, it’s wise to hire a professional.
Remember, installing a radiator involves handling potentially dangerous tools and dealing with combustible materials, so it’s crucial to proceed with caution. So, always ensure proper safety gear and measures are in place before you begin.